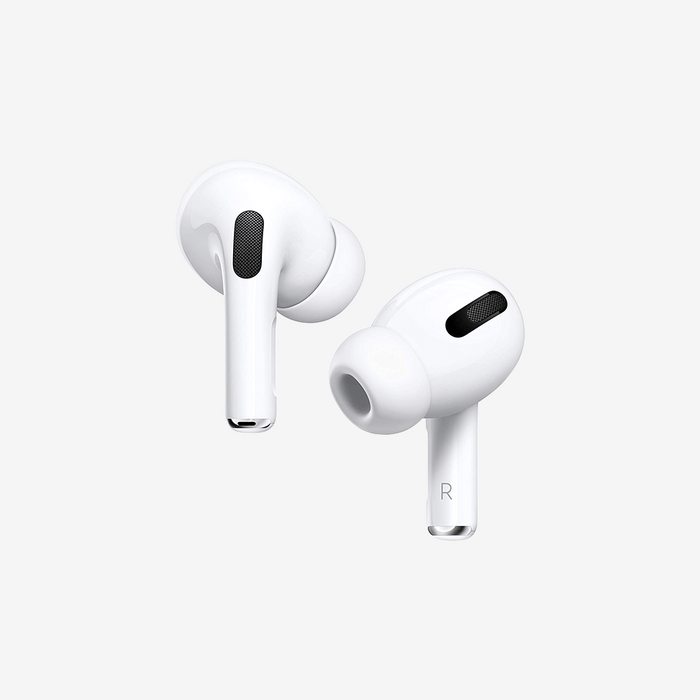
No matter what you may be using a MacBook for, there are going to be situations that require you to connect AirPods or use a headset.
Whether it’s a business meeting that doesn’t quite pick up your voice clearly enough on its default microphone, or you trying to listen to classic rock in a confined work space where others aren’t thrilled with your selections (“‘Mustang Sally’ again, Frank?”), sometimes you just need more confined audio.
A wired headset could work, as can a Bluetooth-enabled one that’s sufficiently charged. But as we mentioned above, Apple’s AirPods are a useful choice. They pick up crystal clear audio; and what’s more, you don’t have to worry about ear cups or wires getting in the way.

So how can you connect these lovely little listening devices to your computer? It’s all done within a few simple steps. And even if something doesn’t work the first time around, relax – there are solutions for that.
Contents
Why Connect AirPods Instead of a Headset?
How To Connect Your AirPods To a MacBook
What If It Doesn’t Work? A Few Things To Check
Need New Devices For Your AirPods? Sell Your Old Ones To Us!
Why Connect AirPods Instead of a Headset?
While MacBooks do allow for the use of headsets, both wired and wireless, AirPods seem to be picking up in popularity with business and casual users alike.
First off, they charge much more easily than regular wireless headsets, thanks to a convenient station provided with the units upon purchase. They’re mostly worry-free, and, once set to go, plug right into your ears without any hassle.
Then there’s convenience to consider. A larger headset could work (especially if you’re low on funds at the moment), but the larger ear cups could drown out other sounds around you. This is crucial if someone’s speaking to you, or worse yet, hearing the honking of a car horn that’s coming your way.
Also, did we mention no wires? Having wires around your neck can be a hassle, and may even cause a tripping hazard while attached to your computer. That can not only create a broken headset, but also an injury to whoever trips. (“Way to go, Frank!”)
So, yeah, AirPods, while not exactly cheap, are much more practical. Not to mention the crystal clear sound makes them ideal for quick meetings or a quick five-minute session of your favorite Twisted Sister song. (Ours is obviously “I Wanna Rock,” honestly.)
How To Connect Your AirPods To a MacBook
Keep this in mind. While the guide may be specifically for connecting AirPods to a MacBook, these can also be used for connecting them to an iMac or, to a certain extent, iPads and iPhones. That’s because they all work around Bluetooth, and once turned on, connection is a snap.
Here’s how to connect your AirPods with ease:
If your Apple ID is already assigned to the AirPods, you should see them automatically on the MacBook, computer or device of your choice. You’ll simply just need to click the audio icon in the menu bar and off you go!
Doesn’t Work? Try This!
But if they aren’t, just follow these steps below.
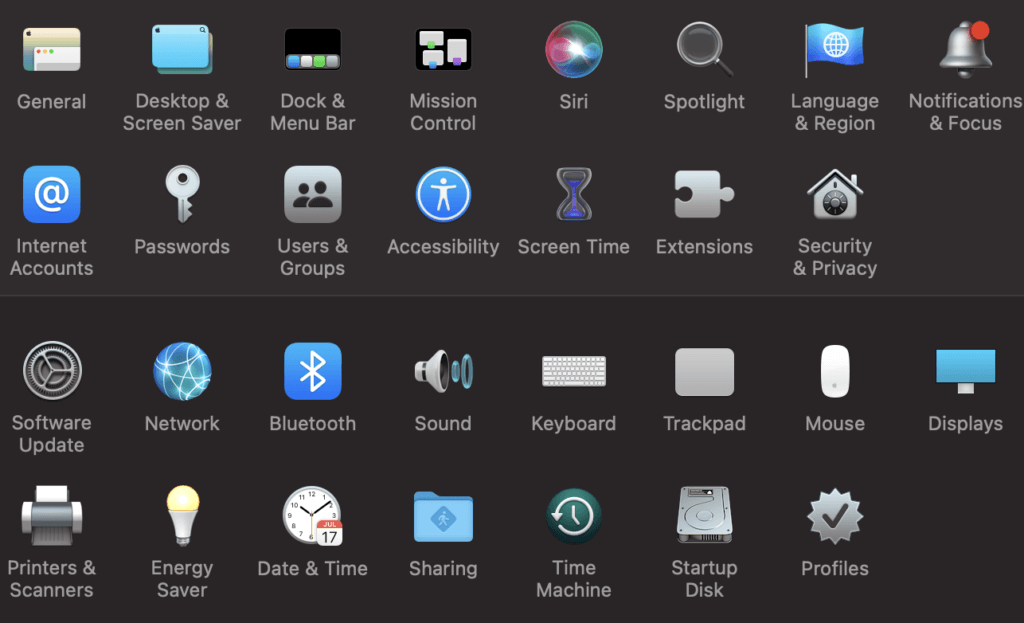
First, go to System Preferences in the Apple menu, located at the top-left corner of the screen. Click on the icon and you’ll see the choice right there, under About This Mac.
From there, switch on Bluetooth if it isn’t turned on already. You’ll see this in the Bluetooth panel on System Preferences. (It looks like a blue icon with a futuristic looking “B” symbol on it, as pictured below.)

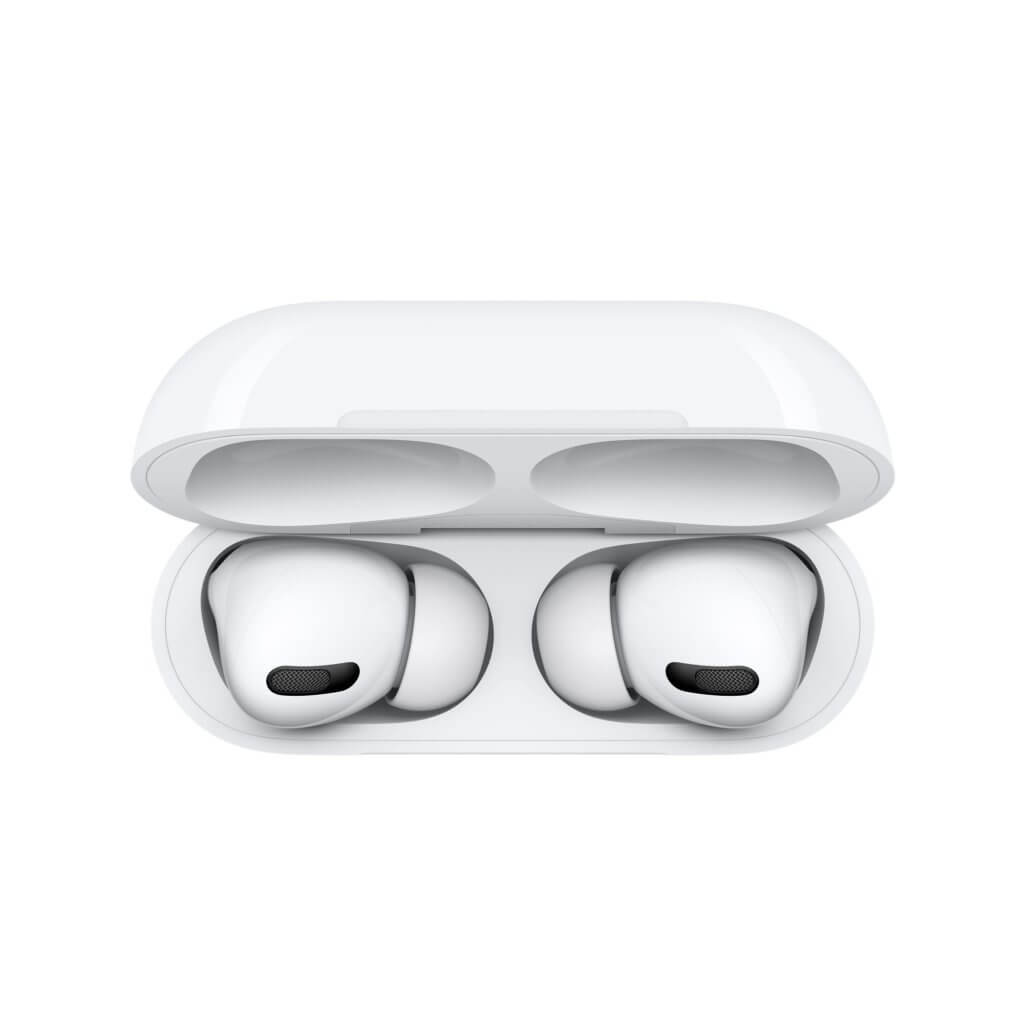
Next, place the AirPods in the charging case that they came with. Assure that it’s getting power by being plugged in, and keep the lid open.
Following that, press and hold the setup button, located on the back of the case. Keep holding it down until the status light shows the color white.
Once this is done, you’ll now be able to see the AirPods appearing on the devices list under the BlueTooth setting. Simply select AirPods on the list and click Connect. It may take a few seconds. Once that’s done, they’re set for use.
Provided they’re charged up enough, you can do whatever you want with your AirPods on your MacBook! Phone calls? Take ‘em like a boss. Music? Pick your playlist and jam away! Watching Thor: Ragnarok? Go for it, but when you’re chuckling to yourself, make sure you look like you’re working.
What If It Doesn’t Work? A Few Things To Check
Now comes the dreaded question – what if I can’t connect AirPods to my MacBook? Well, it’s nothing you did. Let’s just run through a few steps to get things going again.
First off, make sure everything is charged. This sounds silly, but some people don’t understand that AirPods need proper battery energy in order to run. Not only that, but make sure your MacBook is charged as well. No power to laptop, no connection to AirPods. Simple, really.
From there, make sure that you have an updated MacOS. You can check for an update by going under System Preferences again in the Apple drop down menu. Look for a cog-looking icon in the lower left part of the menu, which reads Software Update. Click on that to get the latest update. (This may take a little while.)
But What About…?
Still can’t connect AirPods? Try resetting them within the case. Make sure they’re properly placed and then hold down the setup button on the case. This may take a few seconds, but once you see the white light (as described above), you should be fine.
If that doesn’t solve the problem, there’s always the last step – restarting. Simply restart the MacBook (or other computer) by holding the power button for a few seconds. After the unit shuts off, press it again to turn it back on. Then, after you log in and it goes to the main screen, try the steps above to connect via Bluetooth.
You can also remove and re-sync the AirPods. After resetting your computer, place the devices back in the case they came in and hold the setup button. Once the light turns white, try to connect via Bluetooth again. Now, after all this, they should work. If not, you may have a problem with the AirPods, in which case you’ll want to contact Apple.

Also, if you’re just picking up AirPods for the first time, consider signing up with AppleCare+. Though great high-end devices, AirPods can easily be damaged, whether falling out of your ear or ending up being chewed on by your pet. (Maybe keep its case out of their reach, just to be on the safe side!)
Need New Devices For Your AirPods? Sell Your Old Ones To Us!
So you’re all set as you connect AirPods to your computer. Congratulations! But now your device of choice, be it an iPad, MacBook or iPhone, feels old hat when you’re using them. What to do, what to do.
Simple – sell your device to GadgetGone! We take your old electronics for a great price, with different options to send your payout. Want to buy a new Apple device? An Amazon gift card can lend you a hand. Or maybe you just want some cash to buy something used on the market? We can issue either a paper check or a PayPal deposit.
Whatever model you decide on, you’ll have great interactivity between your Macbook once you connect AirPods. Begone, bothersome headset, we’ve got some easy listening to do!
Follow us on Instagram, Facebook, TikTok and Twitter for more helpful tech tips, future special offers and behind-the-scenes GadgetGone goodness! (Plus, we have a dog!)
Need a new device for your AirPods? We’ll take your old one!
Our no-obligation quotes are simple, fast, and hassle-free.