Sometimes you just have the need to transfer over things from one Macbook to another. Maybe you want to share a song with someone in the family; or show off some photos without needing to carry over your computer. There may be an even more extreme reason, like your old MacBook biting the dust and you wanting to save your information to use on the new one.
Whatever the case, you have convenient tools when it comes to transferring your data from one computer to another. There are several steps you can take, each one providing effectiveness with transfer. Whether you’re just doing a little piece of data or everything your computer can possibly hold, these will help you bring over whatever you desire to your new device.

Let’s break down the steps on how to transfer over photos, data, music, movies and more, using three helpful methods!
Contents
Migration Assistant Can Lend a Hand
Using the iCloud To Your Advantage
Prefer Physical Transfer? Use an External Hard Drive!
So…What To Do With Your Old Computer?
Migration Assistant Can Lend a Hand
When it comes to transferring general data – such as documents, apps, user accounts and other small files – that’s where the Migration Assistant can help. What’s more, you don’t need to connect any wires. You just need a good Wi-Fi connection, and both units to be turned on and, if a MacBook is involved, fully charged.
On the Older MacBook/Mac
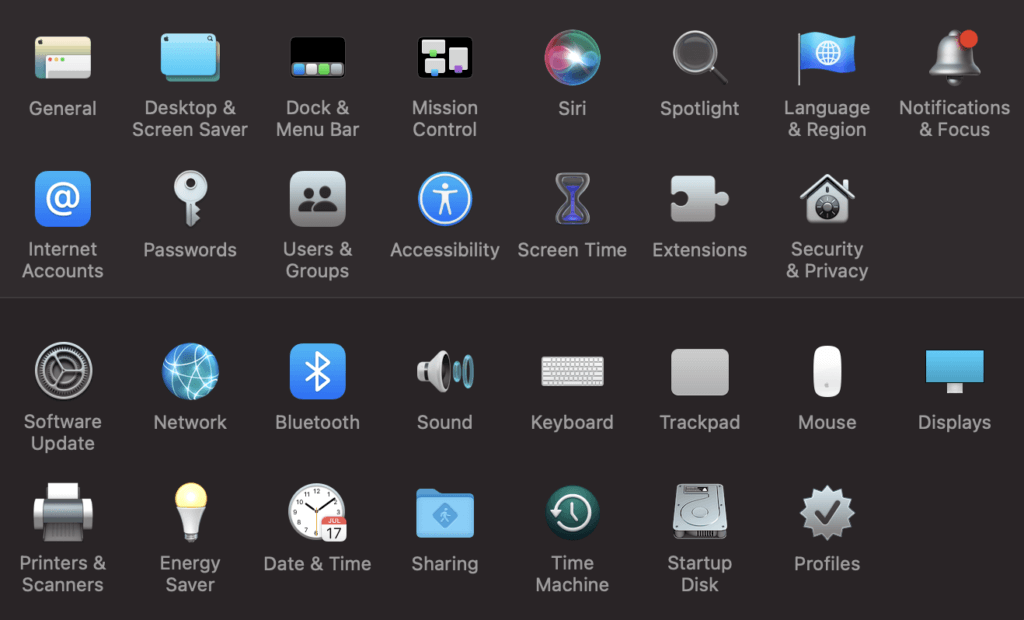
First off, make sure that both computers are updated to the latest software. To double check if they’re set already, go under System Preferences and click on Software Update. If it says “Your computer is up to date,” you’re all set. If either requires an update, go ahead and download it, properly restart the unit being updated, and continue. (The macOS Sierra update is best for use with Migration Assistant.)
Next, make sure that both computers are close to one another. As long as they stay connected through Wi-Fi, you’re good to go.
On the older Mac or MacBook, click the Apple icon in the upper left hand corner of the screen. Select System Preferences and select the Sharing folder. It’s in a blue folder on the bottom of the menu, shown below.
You should see a name in the Computer Name field. Once that’s done, make sure you don’t have any antivirus or firewall software running, as they’ll get in the way of the transfer. If they’re turned off, follow the on-screen prompts and go over to the new computer.
On the Newer MacBook/Mac
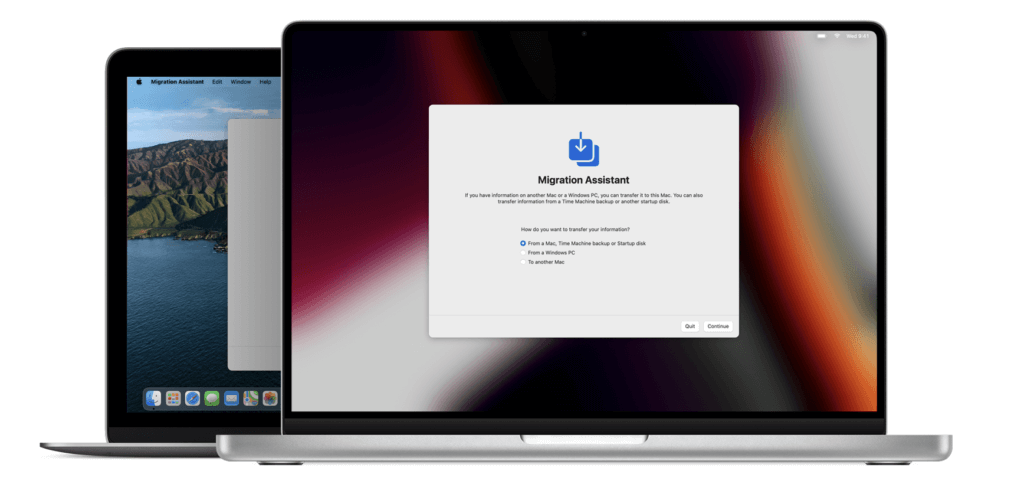
Go over to your new computer and open up Migration Assistant. It’s located in the Utilities menu in your Applications folder. Just open Finder, click Applications, and scroll down.
Next, you’ll provide permission to proceed with the transfer. If you have a password activated, you’ll need to put it in before you continue.
From there, you’ll see different options available. You can either connect directly to the Mac (highlighted in the menu), use a Time Machine backup, or go off a startup disk. In this case, select the Mac and continue.
The Last Steps
Go back to the first computer, open Migration Assistant, and click continue. You should see your transfer option on the screen. Select the transfer option and go back to the new computer. Select the transfer option, and press Continue.
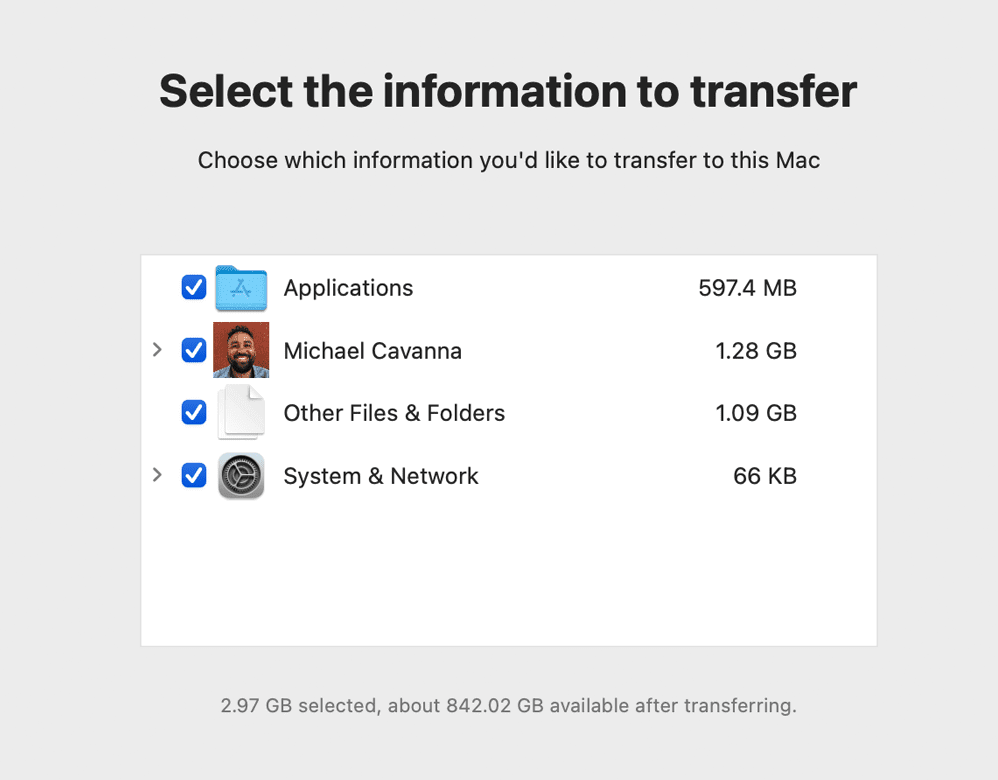
From here, you’ll need to select the information that you need to transfer. The screen below shows what all you can move, mainly with Applications, personal files and system/network settings. Other options may be available, depending on what you have on your computer. Select all and continue.
Your data will now transfer. Keep in mind that if you’re transferring large files, this could take a bit. Once the process is completed, quit Migration Assistant on both computers, and then log into your new one to see if the data successfully transferred. Usually there’s no problem in this regard, but if you need to start it again, just follow the steps above!
Using the iCloud To Your Advantage
Let’s say you don’t need to transfer that much from one computer to another. You just want to share a video you downloaded or put together with editing tools, or just want to share a playlist with someone else in the house. iCloud makes it simple to do this.
First, you’ll need to make sure iCloud is activated, and that you have an iCloud drive set with the information you want to send over. Select the iCloud drive and make sure whatever you have to share is in it. Once that’s done, click the Share icon that’s located at the top. From here, you can select Share File or Share Folder, depending on what the option says.
You’ll now see a Share window. Here, you can select who has access to the folder and whatever’s inside it. You’ll want to set the access to Only people you invite. Anyone then requesting the folder will ask for your permission to get it. After that’s granted, they can access whatever it is you’ve sent!
If you prefer, you can also set up Anyone with the link in Share. This is useful if you’re wanting to share documents with others in an office, or just want multiple people in your home to enjoy what you’re enjoying. Just make sure you’re using a secure network.

With iCloud services, you have 5GB of storage space to use. But, as you might guess, that can run out rather quickly depending on what size files you’re sending. In that case, you may want to consider upgrading your storage space.
For up to $9.99 a month, you can choose from three different storage levels – 50GB, 200GB and 2TB. You can sign on to a plan and cancel at any time, with the account prorated depending on what isn’t used for the month.
It’s not often you’d require a lot of space – like 2TB – through iCloud. But the option’s there, just in case you want to back up everything you possibly can, or have a whole lot of information and data to share with others.
Interested in a new iCloud storage plan? Learn how you can sign up on the iCloud page.
Prefer Physical Transfer? Use an External Hard Drive!
Migration Assistant and iCloud are helpful when it comes to transferring data from one computer to another. You’ll just want to make sure that both computers are turned on. Sure, you can still access iCloud, but there’s no guarantee that all your information will be there, even with all that ample storage space.
What to do, you ask? Get yourself a hard drive. Using the MacBook’s Time Machine tool, you can perform routine back-ups from one computer, and then use that same file to transfer over to another. And this includes everything – account settings, music, downloaded movies, you name it. All you’ll need to do is sign in on the new computer and you should be able to proceed!
Let’s Back It Up
First off, plug your external device into the MacBook (or other computer) you’re transferring from. If it’s not properly formatted, use the Utility Doctor to take care of that. It should now be ready to back up your files.
Select the Time Machine icon on the bottom of the page. It’ll look like a green clock with an arrow going around it. There should be an option on Time Machine Preferences saying Back Up Now. This may take a moment to appear, as the computer sometimes needs to fully read a device before it’s ready.
Once that’s done, select Back Up Now. Depending on how much information you have on the computer, this could take a while. For instance, if you have a 1TB model and it uses around 700-800GB, we’re talking around 10 hours or so, maybe less. (It also helps to have a newer external drive that runs better than older models.)
Time To Transfer!
After that’s done, eject the External Drive from your computer (on the Finder menu) and unplug it. Take it over to your new MacBook (once it’s ready), plug it in, and follow the on-screen instructions from the Migration Assistant to restore from a Time Machine back-up (it’ll be the top option) and continue.
It should read the file from the External Drive. Begin the process, and it’ll do its thing. Again, depending on file size from your old computer, this could take a while. Once it’s done, however, your new computer will be set, with everything taken from your old unit!
Eject the drive from your new computer and keep it safe somewhere. You’ll be asked periodically to back up information using Time Machine, so make sure you know where it is.
Here’s a Good Hard Drive Recommendation
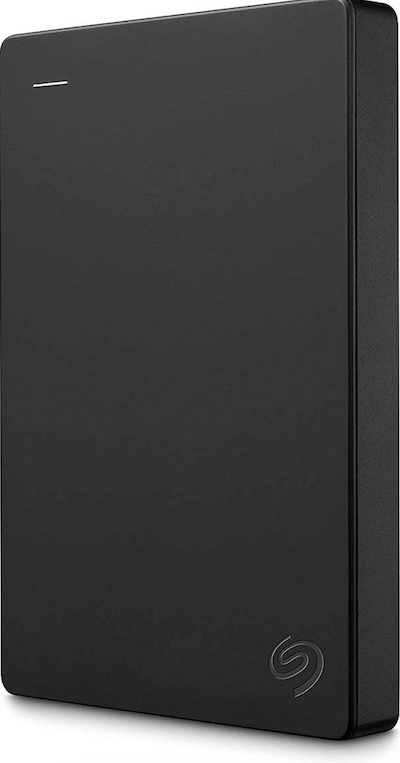
As far as what external hard drive to use with the transfer, most models should work, provided they say “Mac compatible” somewhere on the packaging. If you don’t currently have one on hand, you can pick up this awesome Seagate Portable 2TB drive for just $59.99 from Amazon. Larger sizes are also available, though 2TB should be more than sufficient.

So…What To Do With Your Old Computer?
So you’ve done it! You’ve transferred over your information and other goodies from your older MacBook to your new MacBook. That only leaves one question. “What do I do with my older computer?”
Well, you could donate it, or give it to a family member, or take a chance and try selling it online through someplace like eBay or Facebook Marketplace. However, if it’s convenience you’re looking for, you may want to consider our services at GadgetGone!
We take various types of MacBook computers here, even if they’re a little beat up from being used over the years. What’s more, we offer top dollar, for older and newer models alike; and there are different payment options available. Whether you want cold, hard cash or an Amazon gift card (or even a paper check!), we’ve got you covered.
To learn more about what we sell – beyond MacBook computers even! – check out our page for more information. Have questions? Reach out to our support team for further assistance!
Follow us on Instagram, Facebook, TikTok and Twitter for more helpful tech tips, future special offers and behind-the-scenes GadgetGone goodness! (Plus, we have a dog!)
Need to get rid of your old MacBook?
Lock in your iPhone’s high resale value today.
Our no-obligation quotes are simple, fast, and hassle-free.

